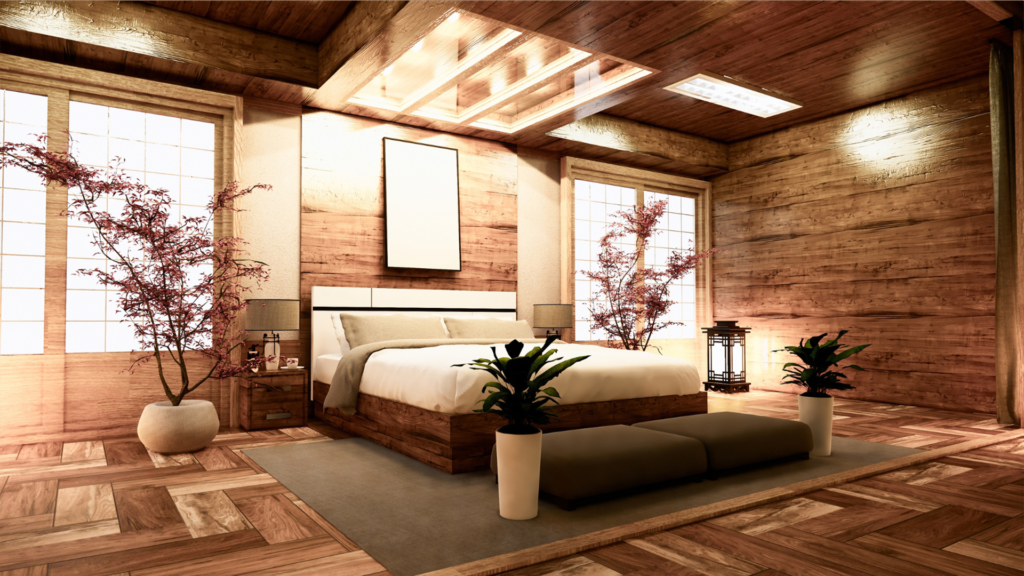
The best lighting for a bedroom helps you create a space that feels calm, comfortable, and functional. The right lighting supports rest while still providing enough brightness for daily activities. LED lighting is a popular option because it is energy-efficient and long-lasting. It provides consistent brightness while reducing electricity costs. In smaller spaces, LED ceiling lights help maximize illumination without taking up space.
Lighting plays a crucial role in setting the mood and functionality of your bedroom. A thoughtfully planned setup can make your space feel more inviting, whether you’re relaxing, reading, or getting ready for the day. By combining different types of lighting, such as ambient, task, and accent, you can easily adjust the atmosphere to suit your needs at any time.
Key Takeaways
- Bedroom lighting should combine comfort, function, and style
- Layered lighting improves flexibility and usability
- Warm light creates a relaxing atmosphere
- Proper placement enhances both mood and visibility
- Quality lighting ensures long-term performance
Why Bedroom Lighting Matters
Bedroom lighting affects how you feel and function throughout the day. Soft lighting helps you relax, while brighter lighting supports tasks like reading or getting dressed. It also helps set the mood for rest, work, or quiet moments in your space. Good lighting can reduce eye strain and make everyday routines more comfortable.
A well-lit bedroom improves comfort and makes the space more inviting. It also enhances the overall design of your room. Proper lighting highlights textures, colours, and furniture details that might otherwise go unnoticed. It can also make smaller rooms feel more open and balanced.
Types of Lighting Fixtures for Bedrooms
To understand what works best, it is important to use a mix of lighting types. Each layer serves a different purpose.
Ambient Lighting
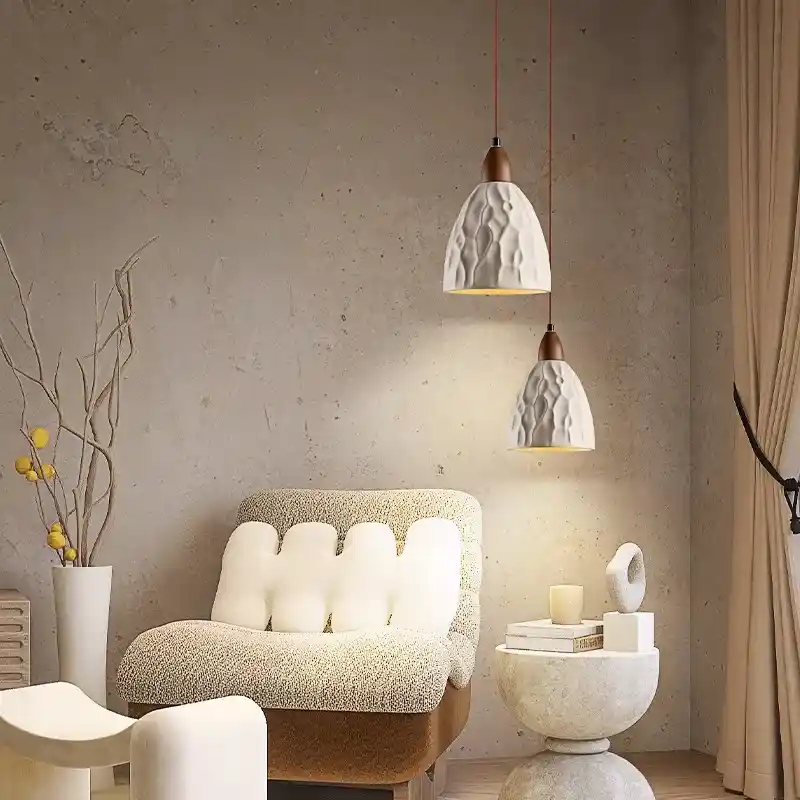
Ambient lighting provides general illumination for the entire room. Ceiling lights and LED panels are common choices. This type of lighting ensures the room is evenly lit without harsh shadows.
Task Lighting
Task lighting is used for specific activities such as reading or working. Table lamps and bedside lights are ideal for this purpose. It allows you to focus light where you need it most.
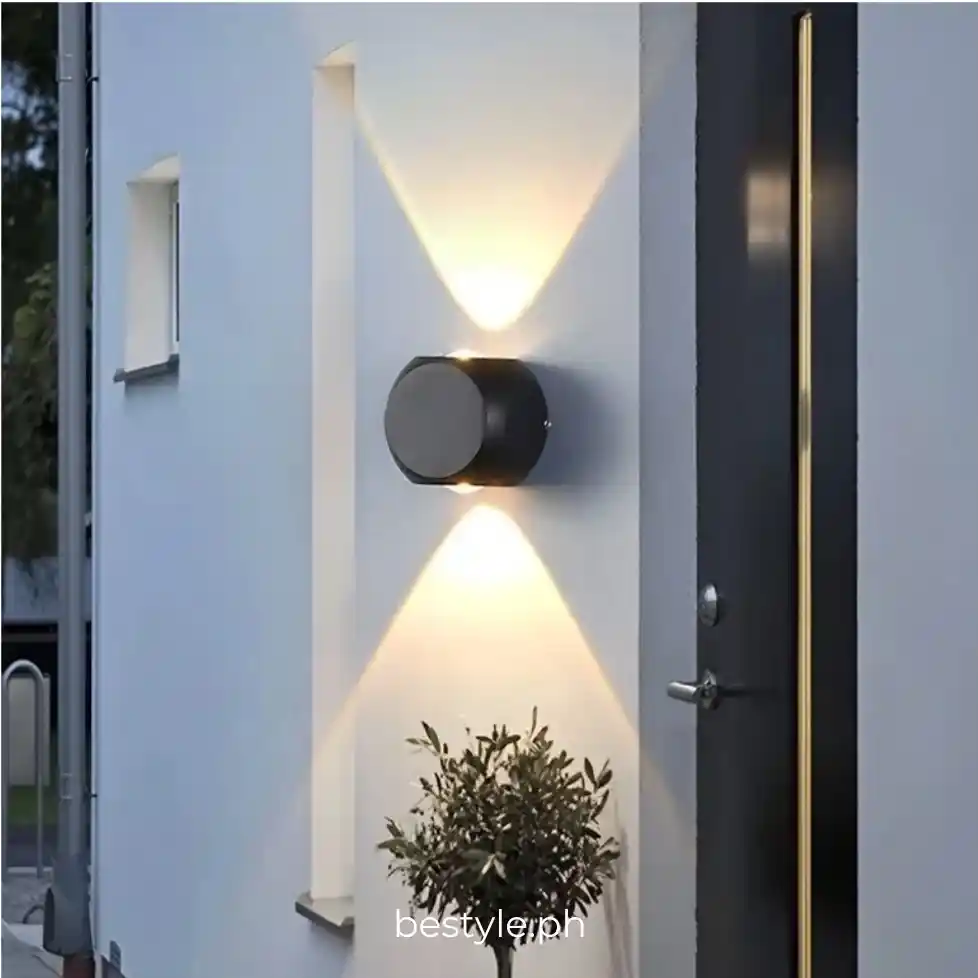
Accent Lighting
Accent lighting highlights certain areas or design features. It adds depth and improves the overall look of the room. Read our accent lighting home guide to enhance your bedroom design.
Choosing the Right Color Temperature
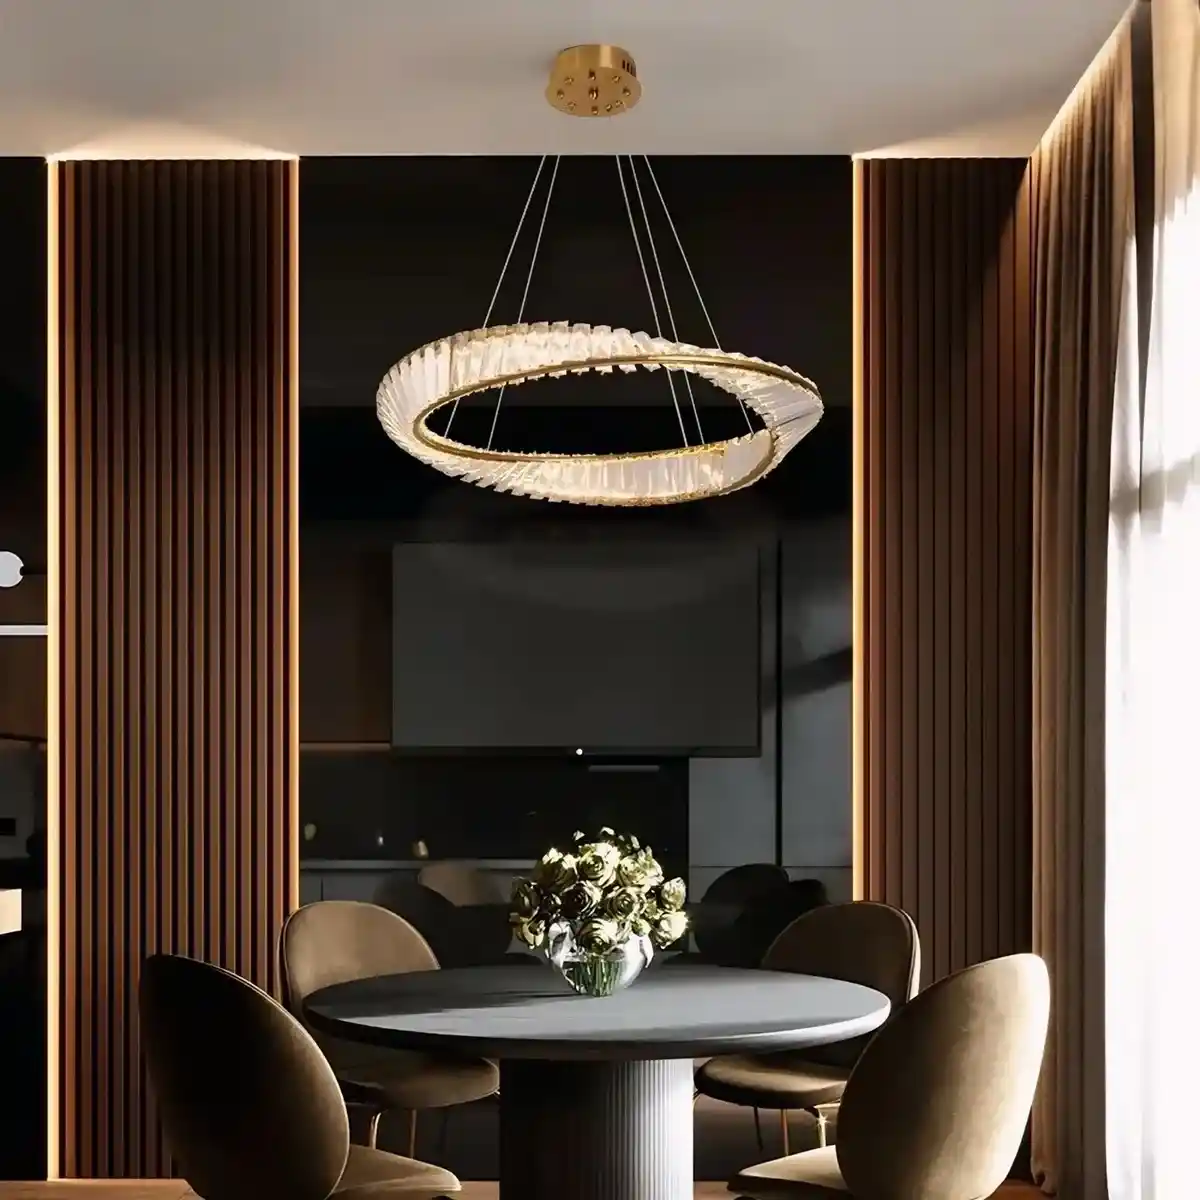
Color temperature plays a major role in bedroom comfort. Warm lighting creates a cozy and relaxing atmosphere. It helps soften the overall look of the room and makes it feel more inviting in the evening. This kind of lighting also reduces harsh shadows, making the space feel calmer.
Cool lighting, on the other hand, is better for focus and productivity. For bedrooms, warm white lighting is usually the best choice. It can feel too sharp or stimulating in a space meant for rest. Cooler tones are more suitable for work areas or study spaces where alertness is needed.
This helps your body relax and prepares you for sleep. Warm lighting supports your natural sleep cycle by signaling that it’s time to wind down. It also creates a more peaceful environment that encourages better rest quality.
Placement Tips for Better Bedroom Lighting
Proper placement improves both function and comfort. Even the best lighting can feel ineffective if placed incorrectly.
Follow these simple tips:
- Use ceiling lights for overall brightness
- Place bedside lamps for reading
- Add accent lighting for depth
- Avoid placing lights directly above your eyes
For more ideas, you can explore bedroom lighting ideas to see how placement affects design.
Balancing Brightness and Comfort
Finding the right brightness level is important for bedroom lighting. Too much brightness can feel harsh, while too little can make the room impractical.
The goal is to create a balanced environment that supports both relaxation and daily tasks. Using dimmable lights is a great way to adjust brightness based on your needs.
Why Quality Lighting Makes a Difference
Lighting quality affects performance, maintenance, and overall experience. Cheap fixtures may fail quickly or provide uneven brightness.
At BeStyle Lighting Solution, products are designed to be reliable, easy to maintain, and suitable for everyday use. With proper support and available parts, you get lighting that performs consistently over time. Check out our new arrivals or browse on-sale items for a range of affordable yet durable lighting fixtures for your bedroom.
Conclusion
To answer the question “What is the best lighting for a bedroom?” It depends upon your needs. Choosing lighting for a bedroom comes down to balance. You need lighting that supports relaxation, daily activities, and overall design. By combining ambient, task, and accent lighting, you can create a space that feels comfortable and functional.
If you are unsure which lighting works best for your bedroom, visit BeStyle Lighting Solution’s showroom in Quezon City or contact us at (+63) 977 822 7977 or bestylelighting@gmail.com. Our team is ready to help you find the perfect lighting solution for your home.
Frequently Asked Questions
What wattage for bedroom lighting is recommended?
The recommended wattage depends on room size, but LED lighting around 10 to 20 watts per fixture typically provides sufficient brightness for bedrooms. LEDs deliver strong illumination with lower energy use. This ensures a well-lit space without increasing electricity consumption
How to choose lighting for bedroom spaces?
Choose bedroom lighting based on layout, daily use, and desired ambiance. Use layered lighting that combines ceiling lights, bedside lighting, and accent fixtures for flexibility. This approach improves both function and comfort while maintaining a balanced design.
Where can I buy bedroom lighting in the Philippines?
You can find bedroom lighting at BeStyle Lighting Solution, with a wide range of designs for modern homes in the Philippines. Visit the showroom in Quezon City or shop online for nationwide delivery. Our team can recommend fixtures that match your space and style.
What type of lighting is best for a bedroom?
The best bedroom lighting combines ambient lighting for general brightness, task lighting for reading, and accent lighting for added depth. Warm LED lighting is recommended to create a more relaxing environment. This combination supports both function and comfort.
How bright should bedroom lighting be?
Bedroom lighting should provide enough brightness for daily tasks while remaining soft for relaxation. Adjustable lighting or dimmable fixtures allow better control throughout the day. This helps maintain a comfortable and practical lighting setup.